Making the Flatfield (Step=3)
Relevant code
XDpiped.csh MakeFlatfieldXD.py
Relevant options
1nsflat_inter: yes/no [run nsflat interactively?]
What it does
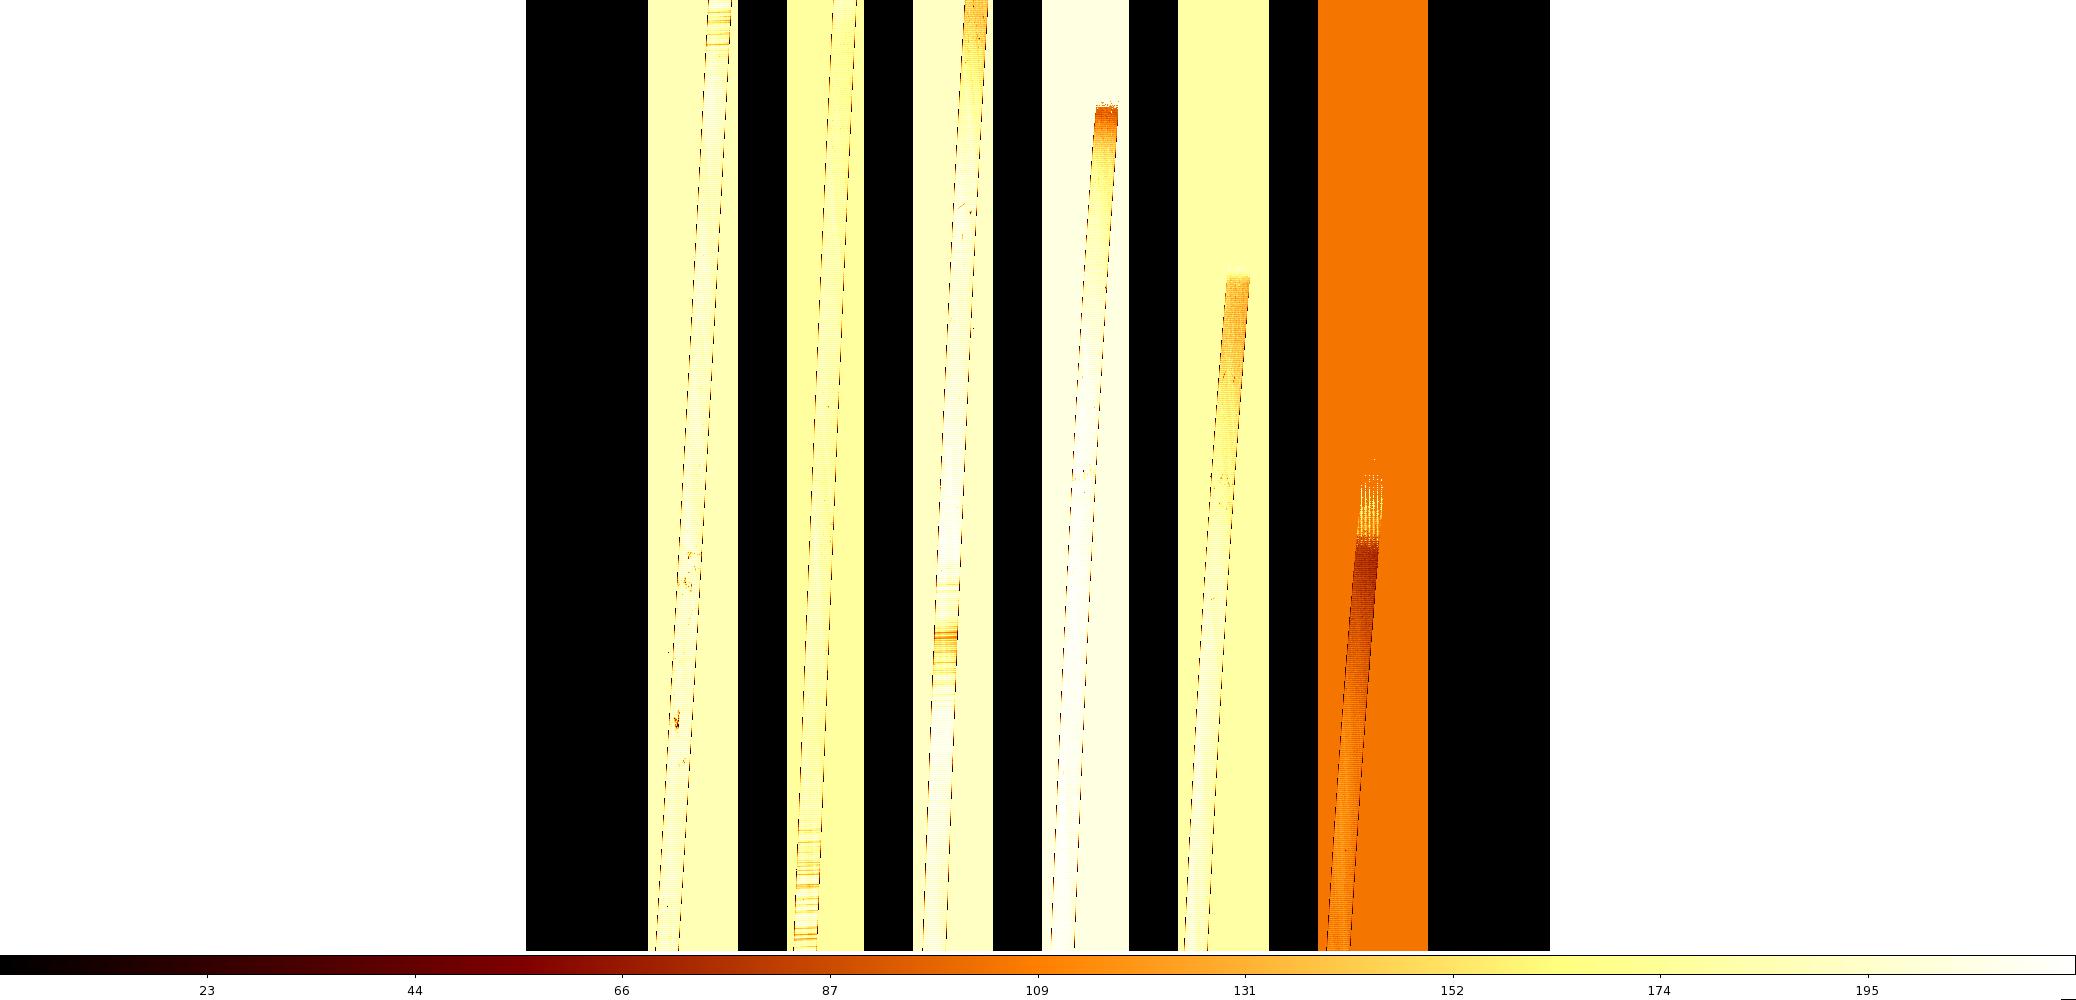
The next step is to create the flatfield. As described on the GNIRS XD
DR page, two types of flatfield are obtained for XD data taken in this
mode, and several individual spectra are acquired for each type of flat.
FlatfieldingXD.py calls nsflat, which combines the data, fits a
polynomial to each order, and produces a single, normalized flatfield
file. This is done for each set of flats, then extension 1 of the IR
flat and extensions 2-6 of the QH flat are combined into a single file
called MasterFlat.fits, saved in the INTERMEDIATE directory.
It is not usually necessary to create the flats interactively, but this
can be done by setting nsflat_inter=yes if desired.
What to look for
Display the final flat and make sure it looks OK, if you like.
Things to most likely go wrong
Sometimes, for reasons best known to itself, nsflat crashes with a fixpix
floating point error. This can usually be worked around by adjusting the value
of the lthreshold parameter in the call to nsflat in FlatFieldingXD.py.
In the case of a crash, XDGNIRS reruns nsflat with a couple of different
values of that parameter. This is usually successful, but if XDGNIRS cannot get
nsflat to work after three attempts, the code exits and returns an error.